Table of Contents
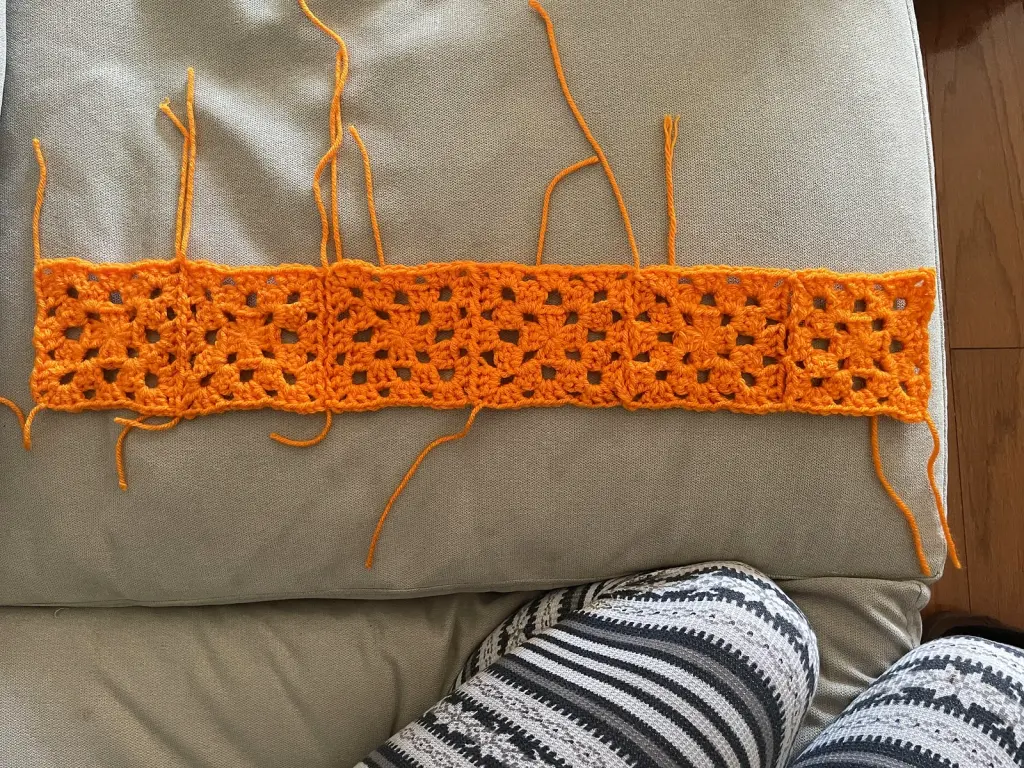
You've crocheted dozens of granny squares in crisp white and warm orange, and now they're stacked in a pile waiting to become a blanket. The only problem? Every joining method you try looks different, and you're not sure which one will make those color-blocked borders sing. I've been there—staring at five sample seams on the couch, second-guessing every stitch.
Here's the short answer: for a color-blocked blanket with white and orange borders, the flat slip stitch join gives you the cleanest, flattest seam with the least bulk. If you want to eliminate weaving in ends, join-as-you-go (JAYG) with a slip stitch is your best bet—but you'll need to plan your color changes carefully. Let's break down all five methods so you can pick the one that matches your patience, your wrists, and your vision for the finished blanket.
Why the Join Matters More Than You Think
The join is the skeleton of your blanket. A bulky seam makes a stiff, heavy blanket that won't drape. A loose, inconsistent seam pulls apart in the wash. And with color-blocked squares, the join becomes a design element—a visible grid that either frames your colors or fights them.
Since you're working with looser stitches to give your wrists a break from amigurumi, you need a join that won't add extra density. The right method will keep the blanket light, drapey, and comfortable without sacrificing strength.
The 5 Joining Methods, Ranked for Your Blanket
1. Flat Slip Stitch Join (Best Overall for Color-Blocked Squares)
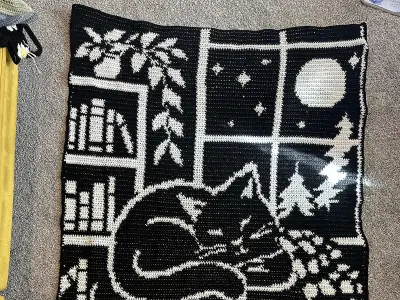
This is the method you spotted in the inspiration photo, and it's likely the flat slip stitch join. You hold two squares right sides together (or wrong sides together for a ridge), insert your hook through both layers, and slip stitch along the edge.
Why it works: The seam lies almost flat, adds minimal bulk, and creates a clean line that frames white and orange borders beautifully. It's also fast once you get into a rhythm.
How to do it: Place two squares right sides together. Join yarn in the corner stitch. Insert hook through both loops of the corner stitch on both squares, yarn over, pull through both loops and the loop on your hook (slip stitch). Continue along the edge, working one slip stitch into each stitch pair. At the end, fasten off and weave in ends.
How to verify success: The seam should lie flat without puckering. If it ripples, your tension is too tight—try a larger hook for the join only.
Pro-Tip: Work the flat slip stitch join with the same hook size you used for the squares. If your squares are loose, go down one hook size for the join to keep the seam from sagging.
2. Join-as-You-Go (JAYG) with Slip Stitch (Best for Fewer Ends)
JAYG means you attach each new square to the previous one as you crochet its final round. You tried two versions—keeping the loop on the hook and removing it. Both work, but keeping the loop on the hook is faster and more secure.
Why it works: You eliminate almost all seaming and drastically reduce the number of ends to weave in. For a color-blocked blanket, this is a huge time-saver.
The color-change catch: When you move from orange to white sections, you'll need to fasten off and rejoin. Plan your layout so you complete all orange-to-orange joins first, then work the white borders. This minimizes mid-row color changes.
How to do it: Work the final round of your square until you reach a corner. Instead of completing the corner, slip stitch into the corresponding corner space of the adjacent square. Continue working the final round, slip stitching into the adjacent square at each stitch or chain space along the shared edge. Fasten off when the square is fully joined.
How to verify success: Tug gently on the seam. It should hold firm without gaps. If you see holes, you may have skipped a slip stitch—count as you go.
3. JAYG with Joined Double Crochets (Best for Texture)
This variation joins the double crochet stitches themselves, creating a slightly more textured, decorative seam. You mentioned you liked the look of joined dcs—and for good reason. It adds a subtle ridge that can look intentional and polished.
Why it works: The joined dcs create a stronger seam than a simple slip stitch, and the texture can complement the granny square pattern.
Watch out: With white and orange borders, a textured seam might compete with the color blocks. Try joining a white square to an orange square with this method before committing to the whole blanket.
How to do it: Work the final round as usual, but when you reach the shared edge, replace the center double crochet of each 3-dc group with a join: yarn over, insert hook into corresponding stitch on adjacent square, yarn over, pull through, yarn over, pull through two loops, yarn over, pull through remaining loops. This creates a joined dc.
How to verify success: The seam should be consistent and not too tight. If the squares cup inward, your join is too tight—loosen your tension.
4. Invisible Seam Through Back Loops Only (BLO)
You tried this and found it not-so-invisible. That's common—BLO seaming can create a visible ridge if your tension isn't perfectly even.
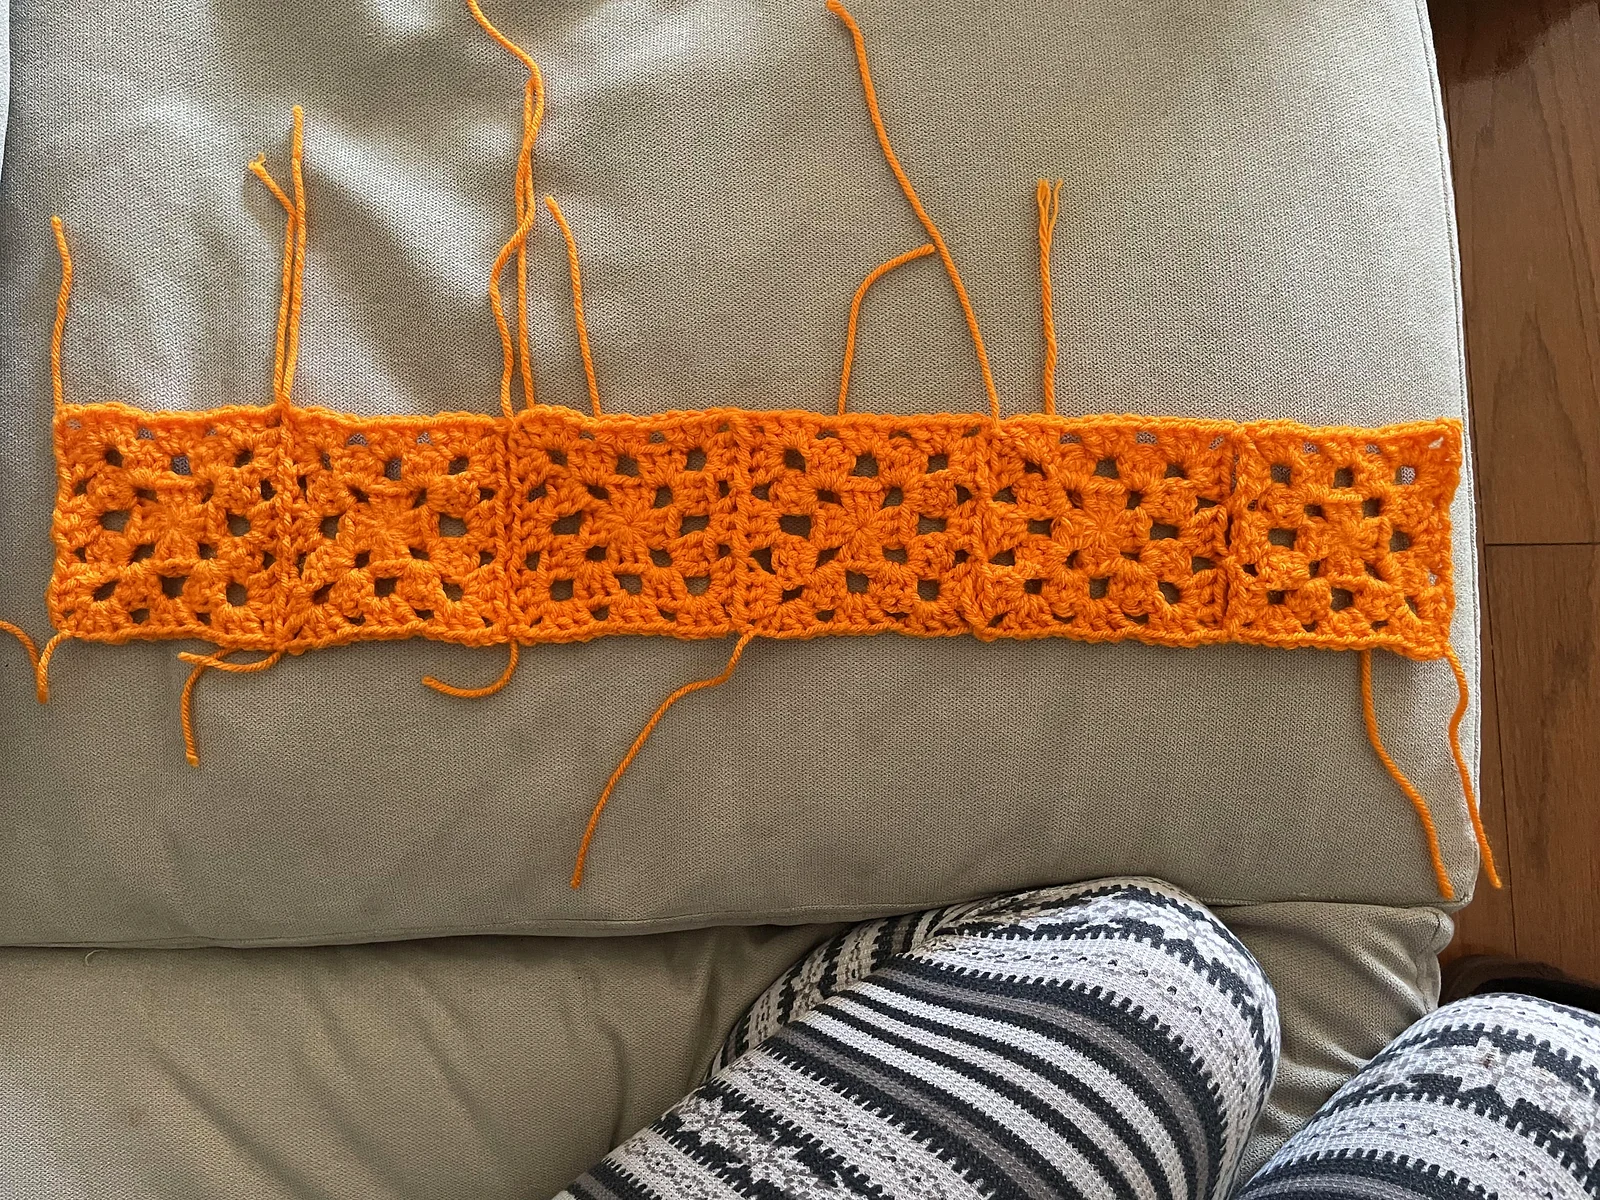
Why it works: When done well, it creates a nearly invisible seam that lets the squares blend seamlessly.
Why it might not work for you: With looser stitches, the back loops can stretch, making the seam more visible. It's also slower than slip stitch joins.
How to do it: Hold squares right sides together. Using a tapestry needle and matching yarn, whip stitch through the back loop only of each stitch pair. Keep tension even but not tight.
How to verify success: The seam should disappear when you pull the squares flat. If you see a ridge, try going down a needle size or using a thinner yarn for seaming.
5. Invisible Seam Through Middle of Stitches
This is the classic mattress stitch, worked through the center of the stitches. It's the most invisible option when done correctly, but it's also the slowest.
Why it works: The seam pulls the squares together without adding bulk, creating a smooth, professional finish.
Why it might not be your favorite: It takes patience, and with looser stitches, it can be tricky to keep the seam from showing. You mentioned it wasn't as invisible as you hoped—that's often a tension issue.
How to do it: Hold squares right sides together. Using a tapestry needle and matching yarn, bring the needle up through the center of the first stitch on the right square, then down through the center of the corresponding stitch on the left square. Continue, keeping the yarn snug but not tight.
How to verify success: The seam should be nearly invisible from the right side. If it shows, your stitches may be too loose—try a smaller needle or tighter tension.
Which Join Should You Choose?
For your color-blocked blanket with white and orange borders, here's my recommendation:
- If you want the flattest, cleanest look: Go with the flat slip stitch join. It's fast, flat, and frames color blocks beautifully.
- If you want to minimize ends: Use JAYG with slip stitch. Plan your color changes so you work all same-color joins first.
- If you want a decorative texture: Try JAYG with joined dcs on a sample square first to see how it looks with your colors.
My advice? Make one more sample: a white square joined to an orange square using the flat slip stitch join. If that looks good, commit to it for the whole blanket. You'll save time and your wrists will thank you.
Blocking: Before or After Joining?
You asked about blocking with JAYG. Here's the deal: if you're using JAYG, you can block the finished blanket at the end. Blocking individual squares before JAYG is possible, but it's tedious and the joins may distort the blocked shape anyway. For flat slip stitch or seamed joins, you can block squares first if they're wildly different sizes, but it's usually easier to block the finished blanket.
How to block: Mist the blanket with water, pin it to shape on a blocking mat, and let it air dry. For acrylic yarn, use steam blocking—hold a steamer a few inches above the fabric and let the steam relax the fibers. Don't touch the iron to the yarn.
Troubleshooting Common Join Problems
- Seam puckers: Your tension is too tight. Try a larger hook for the join or relax your grip.
- Seam gaps: You skipped a stitch or your tension is too loose. Count stitches and keep consistent tension.
- Seam shows through color blocks: Use a matching yarn color for seaming—white for white squares, orange for orange squares. Or choose a neutral join like flat slip stitch that blends in.
- Squares don't line up: Your squares may be different sizes. Block them to the same size before joining, or adjust your join to accommodate the difference (e.g., skip a stitch on the larger square).
Frequently Asked Questions
Can I use a different join for different parts of the blanket?
Yes, but it's not recommended. Mixing joins can create inconsistent drape and appearance. Stick to one method for a cohesive look.
How do I join squares of different colors without the seam showing?
Use a matching yarn color for the seam—white for white-to-white joins, orange for orange-to-orange. For white-to-orange joins, use white if you want the seam to disappear into the white square, or orange if you want it to blend with the orange.
Do I need to block my squares before joining?
Only if they're significantly different sizes. Otherwise, block the finished blanket for the best results.
What's the strongest join for a blanket that will be washed often?
The flat slip stitch join and JAYG with joined dcs are both strong and durable. Avoid single crochet joins, which add bulk and can be stiff.
With the right join, your color-blocked blanket will be a showstopper—flat, drapey, and built to last. Take the time to sample a few methods, trust your gut, and enjoy the process. Your wrists will thank you, and your blanket will be all the more beautiful for it.
Color-Blocked Granny Square Blanket Join
A comprehensive guide to choosing and executing the best joining method for a color-blocked granny square blanket, with comparisons of five techniques.
📦 Materials & Supplies
- ✓Crocheted granny squares in white and orange
- ✓Matching yarn for seaming (white and orange)
- ✓Crochet hook (same size as squares or one size larger for join)
- ✓Tapestry needle
- ✓Scissors
- ✓Blocking mat and pins (optional)
📋 Step-by-Step Instructions
-
1Choose your join: Flat slip stitch for flattest seam, JAYG for fewest ends, or joined dcs for texture.
-
2For flat slip stitch: hold squares right sides together, join yarn in corner, slip stitch through both layers along edge.
-
3For JAYG: work final round of square, slip stitch into adjacent square at each stitch along shared edge.
-
4For joined dcs: replace center dc of each 3-dc group with a join to corresponding stitch on adjacent square.
-
5For invisible seam (BLO or middle): use tapestry needle and matching yarn to whip stitch or mattress stitch squares together.
-
6Block finished blanket by misting with water and pinning to shape, or steam block acrylic yarn.
-
7Weave in all ends securely.