Table of Contents
There's something special about a blanket that looks like it came straight from a high-end home store but feels like a hug. This cozy cable knit crochet blanket delivers exactly that—a plush, textured throw made with bulky yarn that works up fast enough to finish over a weekend. The raised cable panels give it that classic knit look, but you're working them in crochet, which means no needles required.
Whether you're making it for your own couch or as a handmade gift, this pattern is designed to be approachable. You'll need to know a few basic stitches and one cable technique, and we'll walk through every row with exact stitch counts so you always know where you are.
Why You'll Love This Blanket
- Fast finish: Bulky yarn and a large hook mean this throw works up in a weekend or a few evenings.
- Beginner-friendly cables: The cable technique uses simple front-post stitches, not complicated stitch swaps.
- Gorgeous texture: Raised cable panels create a designer look with a soft, squishy hand.
- Versatile size: The pattern is easily adjustable for a baby blanket, lap throw, or full-size afghan.
- Great gift project: Handmade blankets are treasured, and this one looks far more complex than it is.
Project Design Overview
This blanket is built in vertical panels. Each panel alternates a cable motif with a simple textured stitch, creating that classic knit-inspired look. The sample shown uses a soft cream or off-white bulky yarn, which highlights the cable texture beautifully. You can absolutely swap colors—a warm oatmeal, dusty sage, or charcoal gray would all look stunning.
The cable itself is created using front-post double crochet stitches worked around the posts of the row below. This pulls the fabric forward and creates that raised, braided effect. If you've never crocheted a cable before, don't worry—it's easier than it looks, and we'll break it down step by step.
Materials & Yarn Breakdown
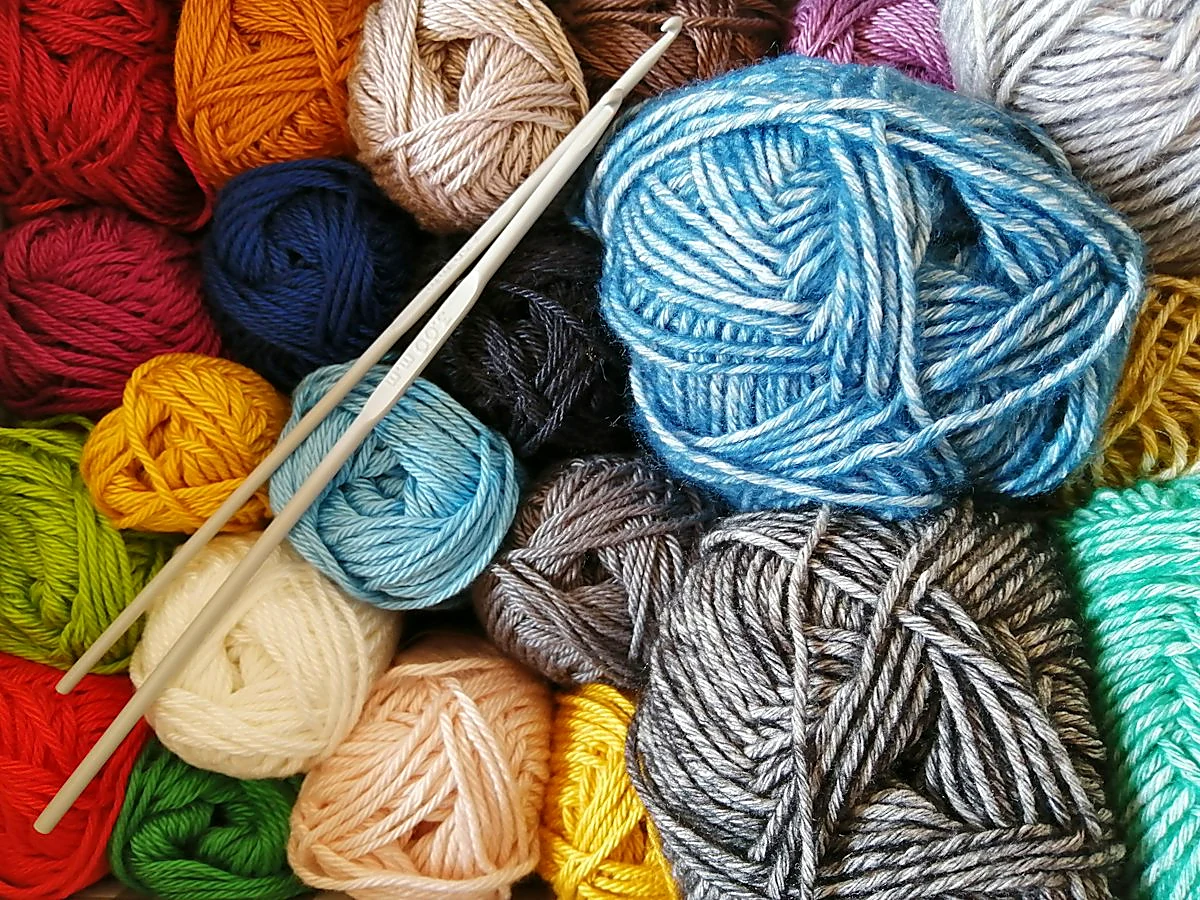
Yarn note: Choose a bulky yarn with good stitch definition—avoid overly fuzzy or halo-heavy yarns, as they can obscure the cable texture. A smooth, slightly twisted bulky acrylic or wool blend works best.
Stitch Abbreviations & Tension Tips
- ch = chain
- sc = single crochet
- dc = double crochet
- fpdc = front post double crochet
- bpdc = back post double crochet
- sk = skip
- st(s) = stitch(es)
Tension tip: Cable stitches tend to pull the fabric inward, so your blanket may narrow slightly as you work. To keep edges straight, maintain a relaxed tension and consider going up one hook size if your cables feel tight. Always make a small gauge swatch—about 10 stitches and 8 rows—to check your fabric density before starting the full blanket.
Pro-Tip: Count your stitches at the end of every cable row. Cable patterns can hide missed stitches, and catching them early saves hours of ripping back later.
Step-by-Step Construction Guide
Foundation
Chain 102 stitches (or a multiple of 12 plus 6 for a different width). This gives a lap throw approximately 40 inches wide. For a baby blanket, chain 66; for a larger throw, chain 138.
Row 1 (Setup Row)
Dc in the 4th ch from hook and in each ch across. You should have 100 dc stitches. Turn.
Row 2 (Cable Row)
Ch 2 (counts as first dc), dc in next st. Sk next 2 sts, fpdc around each of the next 2 sts, then fpdc around the 2 skipped sts (cable made), dc in next 2 sts. Repeat from across, ending with dc in last st. Turn. (100 sts)
Row 3 (Texture Row)
Ch 2, dc in each st across, working bpdc around any fpdc from the row below to push the cable forward. Turn. (100 sts)
Row 4 (Cable Row)
Repeat Row 2.
Rows 5–6
Repeat Rows 3 and 2 once more. You should now see a clear cable twist forming.
Repeat
Continue alternating cable rows and texture rows until the blanket measures your desired length—typically 50 inches for a lap throw. End on a texture row for a clean edge.
Border
Work one round of sc evenly around the entire blanket, placing 3 sc in each corner to keep them flat. Fasten off and weave in ends.
Troubleshooting & Common Mistakes
- Cables look flat: You may be working fpdc too loosely. Try pulling the post stitch slightly forward as you complete it.
- Edges are wavy: This usually means inconsistent tension. Block the blanket after finishing to even out the fabric.
- Blanket is narrowing: Cable stitches naturally pull inward. Add a border of sc or hdc around the edge to stabilize the shape.
- Missed stitches: Count after every cable row. If you're off, the cable pattern will shift—fix it immediately rather than continuing.
Blocking & Care
Blocking is the secret to a professional-looking blanket. Mist the finished blanket lightly with water, shape it to your desired dimensions on a clean towel or blocking mats, and let it dry completely. This opens up the stitches and evens out the cables.
For washing, use a gentle cycle with cold water and mild detergent. Avoid fabric softener, which can coat the fibers. Lay flat to dry—hanging a heavy bulky blanket can stretch it out of shape.
Frequently Asked Questions
Can I make this blanket with worsted weight yarn?
Yes, but you'll need to adjust your hook size and stitch count. Use a 5.5 mm (US I-9) hook and chain approximately 150 stitches for a similar width. The blanket will be lighter and take longer to finish.
How do I make the cable more prominent?
Use a slightly larger hook for the fpdc stitches, or work them around the post with a bit more tension. You can also try a chunkier yarn to exaggerate the texture.
Is this pattern suitable for a beginner?
Absolutely—if you're comfortable with double crochet and front post stitches, you can handle this. Practice the cable on a small swatch first to build confidence.
How long does this blanket take to make?
Most crocheters finish a lap throw in 8–12 hours of working time. Spread over a weekend or a few evenings, it's a very manageable project.
Cozy Cable Knit Crochet Blanket
A soft, textured cable crochet throw made with bulky yarn. Weekend-friendly pattern with raised cable panels and a simple border.
📦 Materials & Supplies
- ✓1,200-1,500 yards bulky weight yarn (Weight 5)
- ✓8.0mm (US L-11) crochet hook
- ✓Tapestry needle
- ✓Stitch markers
- ✓Scissors
📋 Step-by-Step Instructions
-
1Chain 102 (multiple of 12 plus 6).
-
2Row 1: Dc in 4th ch from hook and each ch across (100 sts). Turn.
-
3Row 2 (Cable Row): Ch 2, dc in next st. *Sk 2 sts, fpdc around next 2 sts, fpdc around skipped 2 sts, dc in next 2 sts. Repeat from * across. Turn.
-
4Row 3 (Texture Row): Ch 2, dc in each st across, working bpdc around fpdc from row below. Turn.
-
5Repeat Rows 2-3 until blanket measures desired length (approx. 50 inches), ending on a texture row.
-
6Border: Work one round of sc evenly around entire blanket, 3 sc in each corner. Fasten off and weave in ends.
-
7Block lightly to even out cables and shape.