Table of Contents
- What Is Homemade Air-Dry Clay?
- Ingredients for Homemade Air-Dry Clay
- How to Make Homemade Air-Dry Clay in 7 Easy Steps
- How to Make Pastel-Colored Homemade Clay
- 5 Easy Projects to Make With Homemade Clay
- How Long Does Homemade Air-Dry Clay Take to Dry?
- Homemade Clay Troubleshooting Guide
- How to Store Homemade Air-Dry Clay
- Important Safety Tips
- Frequently Asked Questions
- Sources and Further Reading
Homemade air-dry clay is a simple way to make smooth modeling clay using cornstarch, white craft glue, vinegar, and a little oil. You can shape it into flowers, hearts, ornaments, and small decorations, then let your creations harden naturally without an oven or kiln.
- Skill level: Beginner
- Prep time: About 5 minutes
- Cooking time: A few minutes on low heat
- Drying time: About 24–72 hours for small pieces
- Best for: Miniatures, ornaments, and decorative crafts
- Adult supervision: Required during cooking
What Is Homemade Air-Dry Clay?
This homemade clay is often called cold porcelain. Despite its name, it is not real porcelain or traditional pottery clay.
It is made from cornstarch and white PVA craft glue, with small amounts of oil and vinegar or lemon juice. The mixture becomes a soft, workable dough that gradually hardens when exposed to air.
Unlike ceramic clay, it does not require a kiln. You can work with it using simple household craft tools, making it useful for decorative projects.
It is not waterproof, food-safe, or suitable for projects that must withstand high temperatures.
Ingredients for Homemade Air-Dry Clay
You only need four main ingredients. Optional acrylic paint can be added after the clay cools.
| Ingredient | Amount |
|---|---|
| Cornstarch | 1 cup |
| White PVA craft glue | 1 cup |
| White vinegar or lemon juice | 1 tablespoon |
| Vegetable oil | 1 tablespoon |
| Acrylic craft paint | Optional, small amount |
Important: Use cornstarch, not cornmeal. Choose white PVA craft glue, not super glue or construction adhesive. The larger amount of glue is intentional; the small quantity of vinegar or lemon juice follows common cold-porcelain recipes.
Tools You’ll Need
- A small nonstick saucepan reserved for crafts
- A silicone spatula or wooden spoon
- Measuring cups and spoons
- A clean work surface
- Plastic wrap
- An airtight container
- Parchment paper
- Optional craft cutters and molds
How to Make Homemade Air-Dry Clay in 7 Easy Steps
The key is to cook the mixture gently and stop as soon as it forms a soft dough. Cooking it too long can make the finished clay dry and difficult to shape.
- Combine the ingredients. Place the cornstarch, white craft glue, vinegar or lemon juice, and vegetable oil in a cool saucepan. Do not turn on the heat yet.
- Mix until smooth. Stir thoroughly until the cornstarch is evenly combined with the glue. The mixture should look like a smooth white batter without dry pockets.
- Cook on low heat. Turn the heat to low and stir constantly. The mixture will slowly thicken. Remove it from the heat once it pulls together into a soft dough rather than a runny paste.
- Allow the dough to cool. Transfer it to a clean craft surface. Wait until it is cool enough to handle safely. Check the center because it can remain hot after the outside has cooled.
- Knead until smooth. Gently fold and press the dough until it becomes even and pliable. If it sticks excessively, add only a tiny dusting of cornstarch.
- Add color. Divide the clay into smaller portions. Knead a tiny amount of acrylic craft paint into each portion until the color is evenly distributed.
- Shape your creations. Form hearts, flowers, miniature objects, or ornaments. Place them on parchment paper and allow them to dry at room temperature.
Helpful tip: Always try a small test piece before making a large project. The clay should feel soft and hold its shape without crumbling or flowing.
How to Make Pastel-Colored Homemade Clay
Pastel colors are useful for handmade decorations because they create a soft, coordinated look.
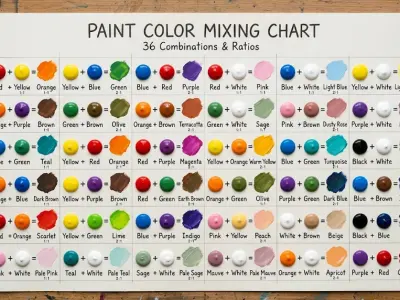
Use small amounts of acrylic craft paint so you do not make the mixture too wet.
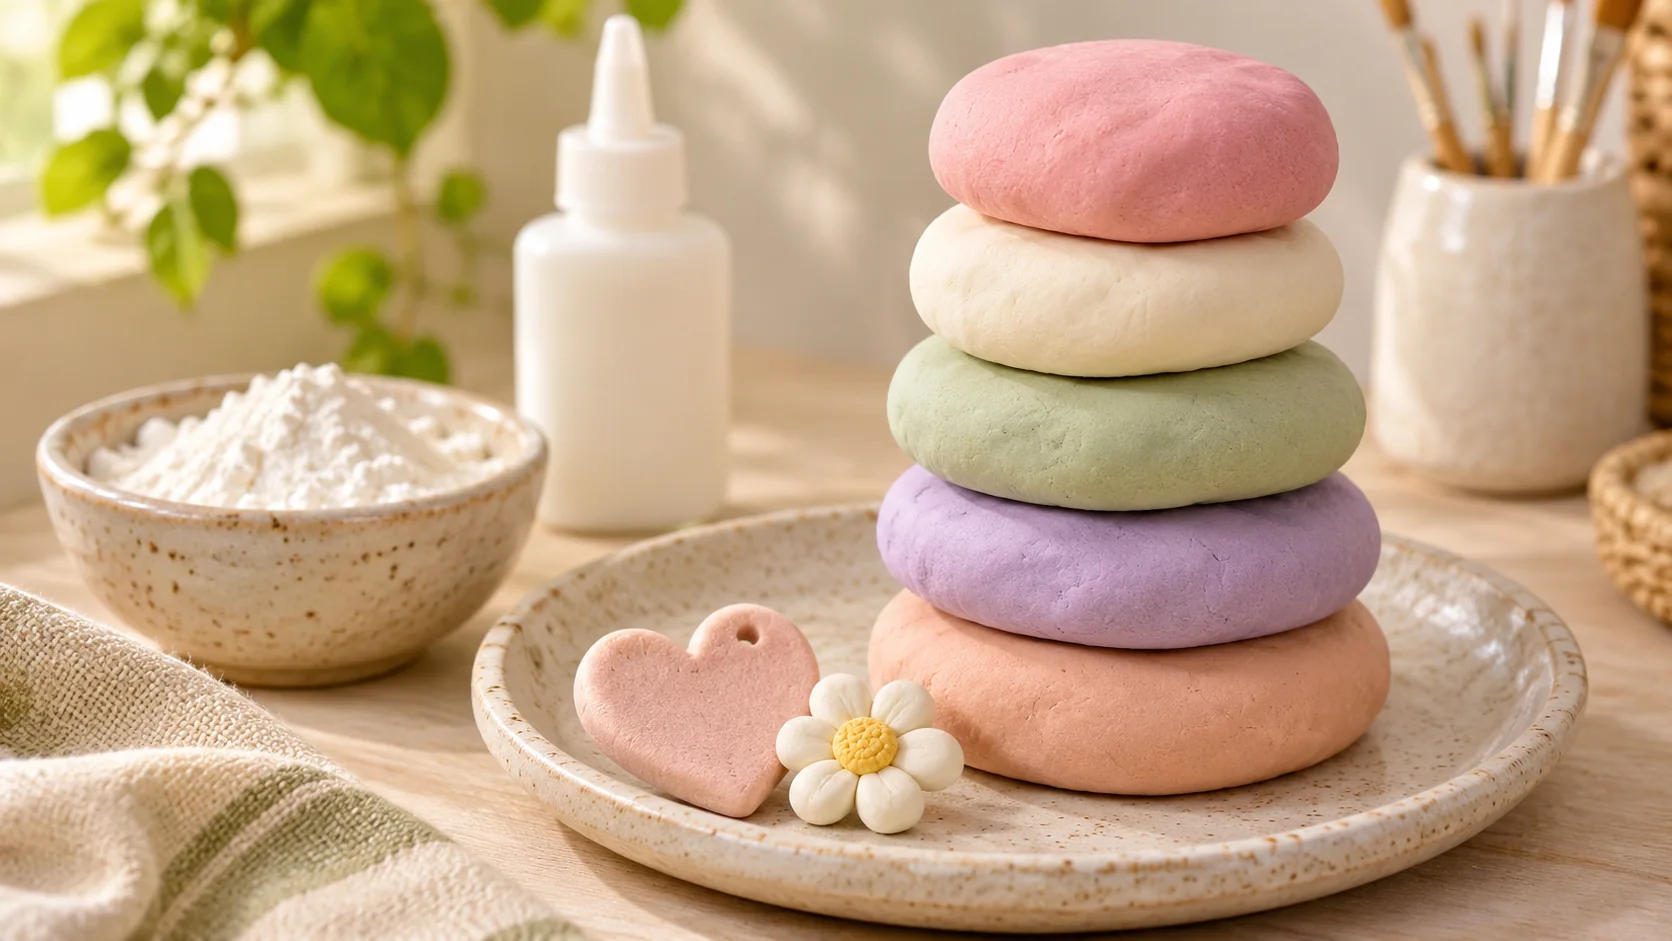
- Blush pink: Add a tiny amount of pink paint.
- Cream: Keep the clay natural or add a little warm white.
- Sage green: Mix in a muted sage-green craft paint.
- Lavender: Add a small amount of pale violet.
- Soft peach: Use a light peach craft paint.
You can also leave the clay white and paint your finished pieces after they have dried completely.
5 Easy Projects to Make With Homemade Clay
1. Mini Clay Hearts
Flatten a small piece of clay and use a heart-shaped cutter. Smooth the edges before drying. These hearts work well as gift decorations or small ornaments.
2. Simple Clay Flowers
Roll a tiny ball for the center. Flatten smaller pieces into petals and arrange them around it. Press the parts gently together while the clay is soft.
3. Decorative Beads
Roll the clay into small beads and make a hole through each one before drying. Use them for decorative hanging projects. Keep small pieces away from young children.
4. Handmade Gift Tags
Roll the clay into a thin sheet and cut simple shapes. Make a hole for ribbon before the pieces dry.
5. Tiny Clay Decorations
Try miniature stars, mushrooms, leaves, or little houses. Start with simple shapes and avoid thick sections that may dry unevenly.
How Long Does Homemade Air-Dry Clay Take to Dry?
Small, thin pieces may dry in about 24–48 hours. Thicker decorations can require several days.
Drying time depends on room humidity, temperature, thickness, and the actual clay mixture.
Place the pieces on parchment paper in a dry, well-ventilated area. Avoid direct sunlight or strong heat because uneven drying can contribute to cracking.
Allow every piece to become completely dry before painting, sealing, or handling it extensively.
Homemade Clay Troubleshooting Guide
| Problem | What to Try |
|---|---|
| Clay is too sticky | Let it cool, knead again, and add a tiny amount of cornstarch if necessary. |
| Clay is dry or crumbly | Try kneading in a drop of oil. Severely overcooked clay may not recover. |
| Clay cracks while drying | Make thinner pieces and allow them to dry gradually. |
| Clay will not hold its shape | Check whether the mixture was cooked enough and kneaded evenly. |
| Color looks streaky | Add less paint at once and knead more thoroughly. |
How to Store Homemade Air-Dry Clay
Unused clay should be kept away from air because it begins to dry out quickly.
Wrap it tightly in plastic wrap and place it inside an airtight container. Keep it in a suitable cool storage area and use it reasonably soon.
Do not assume homemade clay has a fixed shelf life. If it develops mold, an unusual odor, or major texture changes, discard it.
Finished decorations should be kept away from excessive moisture because homemade clay is not naturally waterproof.
Important Safety Tips
Do not use this clay for cups, plates, food containers, pet bowls, or anything that must be food-safe or waterproof.
Frequently Asked Questions
Can I make homemade air-dry clay without an oven?
Yes. This recipe is cooked gently on the stovetop and the finished pieces dry naturally in the air. No oven or kiln is needed.
Does homemade air-dry clay become hard?
Yes. The clay gradually becomes firm as moisture leaves it. Its final strength depends on the ingredients, thickness, and drying conditions.
Can I use food coloring?
Some recipes use food coloring, but it may stain hands and add extra moisture. Use a small amount or color the dried pieces with suitable craft paint.
Can children make this clay?
Children can help shape completely cooled clay when the materials are appropriate for their age. An adult should prepare the hot mixture and supervise the activity.
Can I make jewelry from homemade clay?
You can make lightweight decorative pendants and beads, but the material may not withstand frequent bending, pulling, or exposure to water.
Why does homemade clay shrink as it dries?
Air-dry clay loses moisture during drying. Some shrinkage is normal, so make a test piece first when exact finished dimensions are important.
Sources and Further Reading
For additional homemade clay formulas and preparation advice, see Clay Art Center’s air-dry modeling material guide and The Artful Parent’s air-dry clay tutorial.