Table of Contents
- What Kind of Paper Tulip Is This?
- Materials You Need
- Petal and Leaf Cutting Measurements
- How to Make a DIY Paper Tulip Flower in 8 Steps
- How to Get the Soft Pink-and-White Petal Effect
- Make the Tulip Smaller, Fuller, or More Closed
- Common Paper Tulip Problems and Easy Fixes
- Ways to Use Your Handmade Tulip
- Frequently Asked Questions
- Useful Paper-Flower References
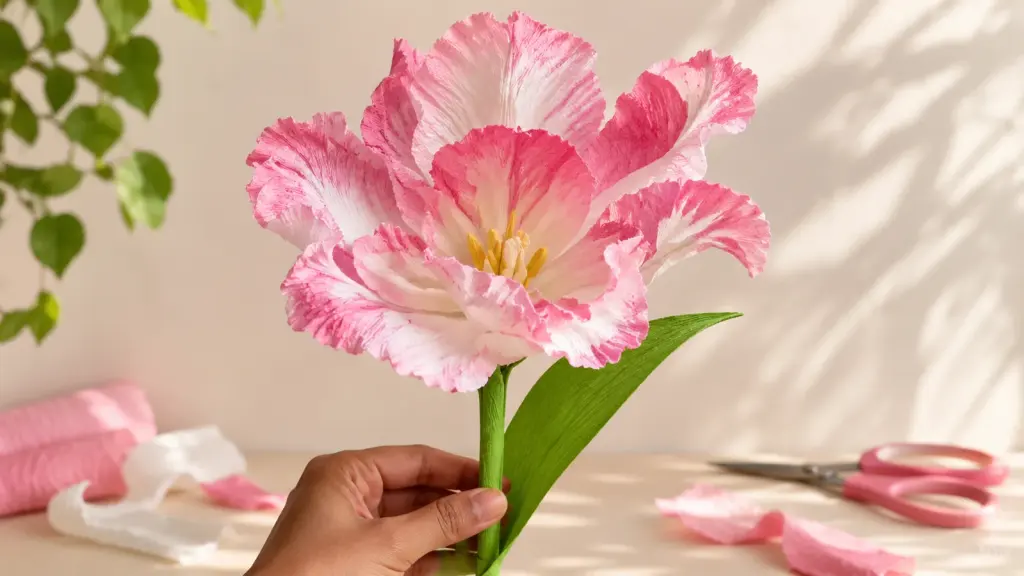
This DIY paper tulip flower has soft white petals, pink ruffled edges, and a long green stem—just like the oversized bloom in the inspiration photo. The secret is crepe paper: you can gently stretch it into curved petals instead of folding a flat paper tulip. Below, you’ll find simple measurements, eight clear steps, and fixes for drooping petals or a wobbly stem.
- Project: Large ruffled crepe paper tulip
- Skill level: Beginner with a little patience
- Estimated craft time: 45–60 minutes, plus glue drying
- Petals: 8 (4 inner and 4 outer)
- Finished flower: Roughly 6–7 in (15–18 cm) across, depending on shaping
- Best for: Spring decor, Mother’s Day gifts, bouquets, and handmade centerpieces
What Kind of Paper Tulip Is This?
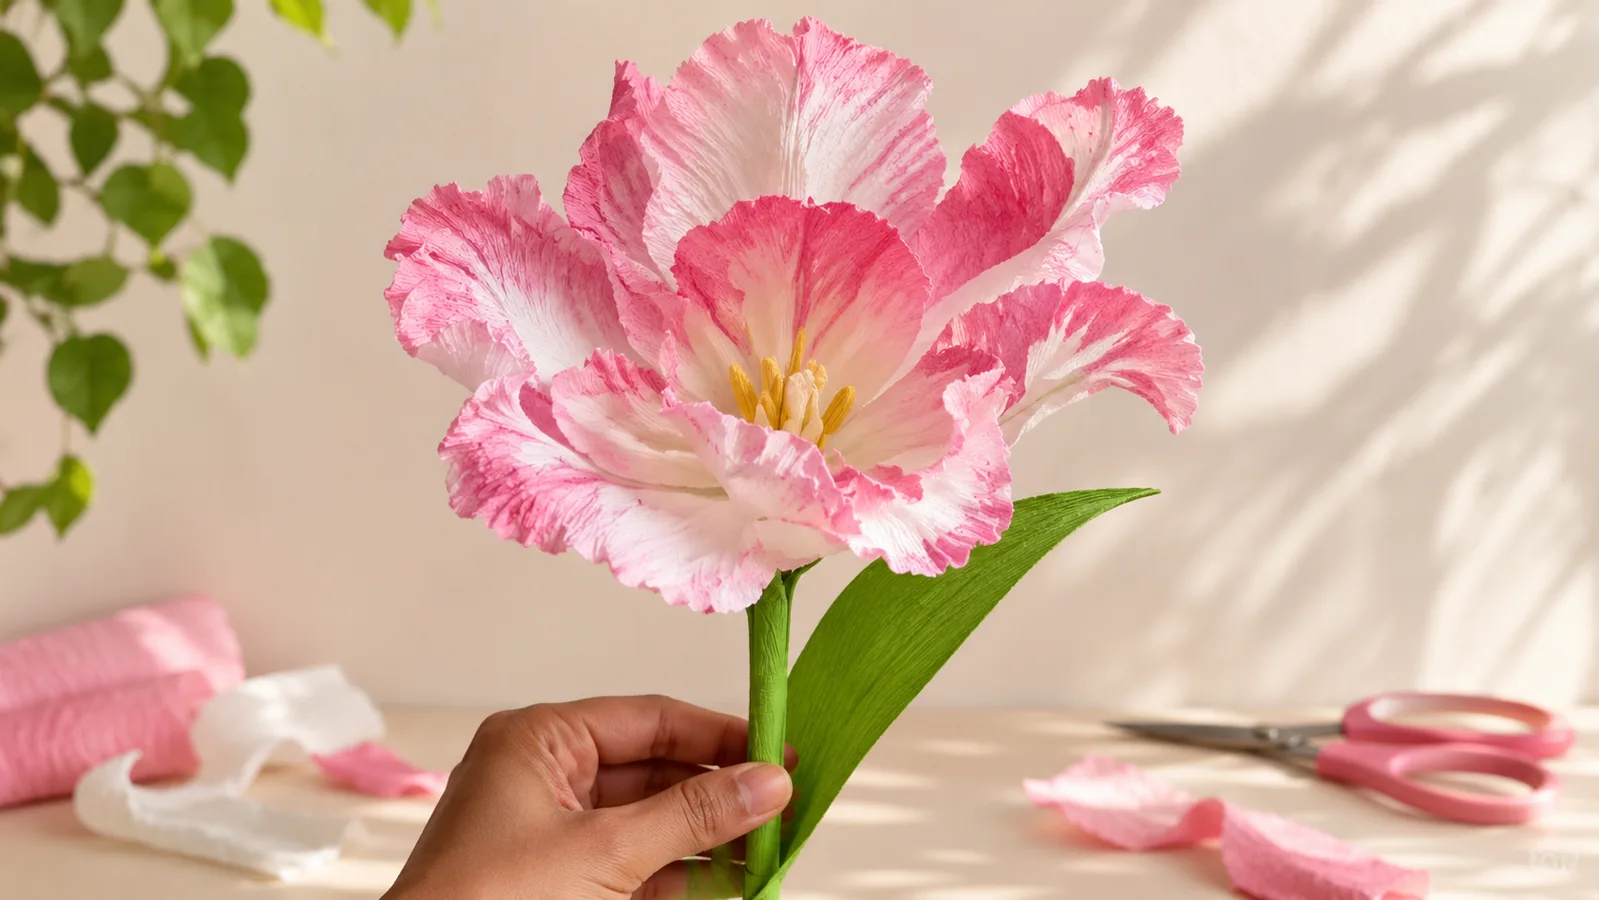
The flower has the open, wavy look of a parrot-style tulip rather than the small, tightly closed shape of a classic tulip. In the reference photo, the petals are broad and irregular, with a white center and pink frilled tips. The stem is straight and green, with one long leaf near the bloom.
Crepe paper is a good match because its ridges let you cup the middle of each petal and stretch the top edge into soft waves. Ordinary printer paper cannot do that in the same way. This tutorial makes an inspired craft version, not an exact reconstruction of an unseen video’s steps.
Materials You Need
- White or pale blush crepe paper: one sheet or roll large enough for eight petals
- Pink crepe paper or pink artist pastel: optional, for shaded petal edges
- Green crepe paper: for two leaves and covering the flower base
- Yellow crepe paper: a small piece for the center
- 18-gauge floral stem wire: about 18 in (46 cm), or a similarly sturdy premade paper-covered stem
- Green floral tape and tacky craft glue
- Sharp scissors, ruler, pencil, and a thin pencil or dowel for curling
- Optional: soft pink pastel, blending sponge, and fine floral wire for extra petal support
Petal and Leaf Cutting Measurements
You do not need a purchased template for this version. Draw two rounded petal shapes on scrap paper first: each should have a broad, slightly uneven top and a narrow base for gluing to the stem.
| Piece | Quantity | Approximate size |
|---|---|---|
| Inner petals | 4 | 5 × 3 in (13 × 7.5 cm) |
| Outer petals | 4 | 6 × 3½ in (15 × 9 cm) |
| Long green leaf | 1 | 10 × 2½ in (25 × 6 cm) |
| Second green leaf (optional) | 1 | 8 × 2 in (20 × 5 cm) |
| Yellow center strip | 1 | 3 × 1½ in (7.5 × 4 cm) |
How to Make a DIY Paper Tulip Flower in 8 Steps
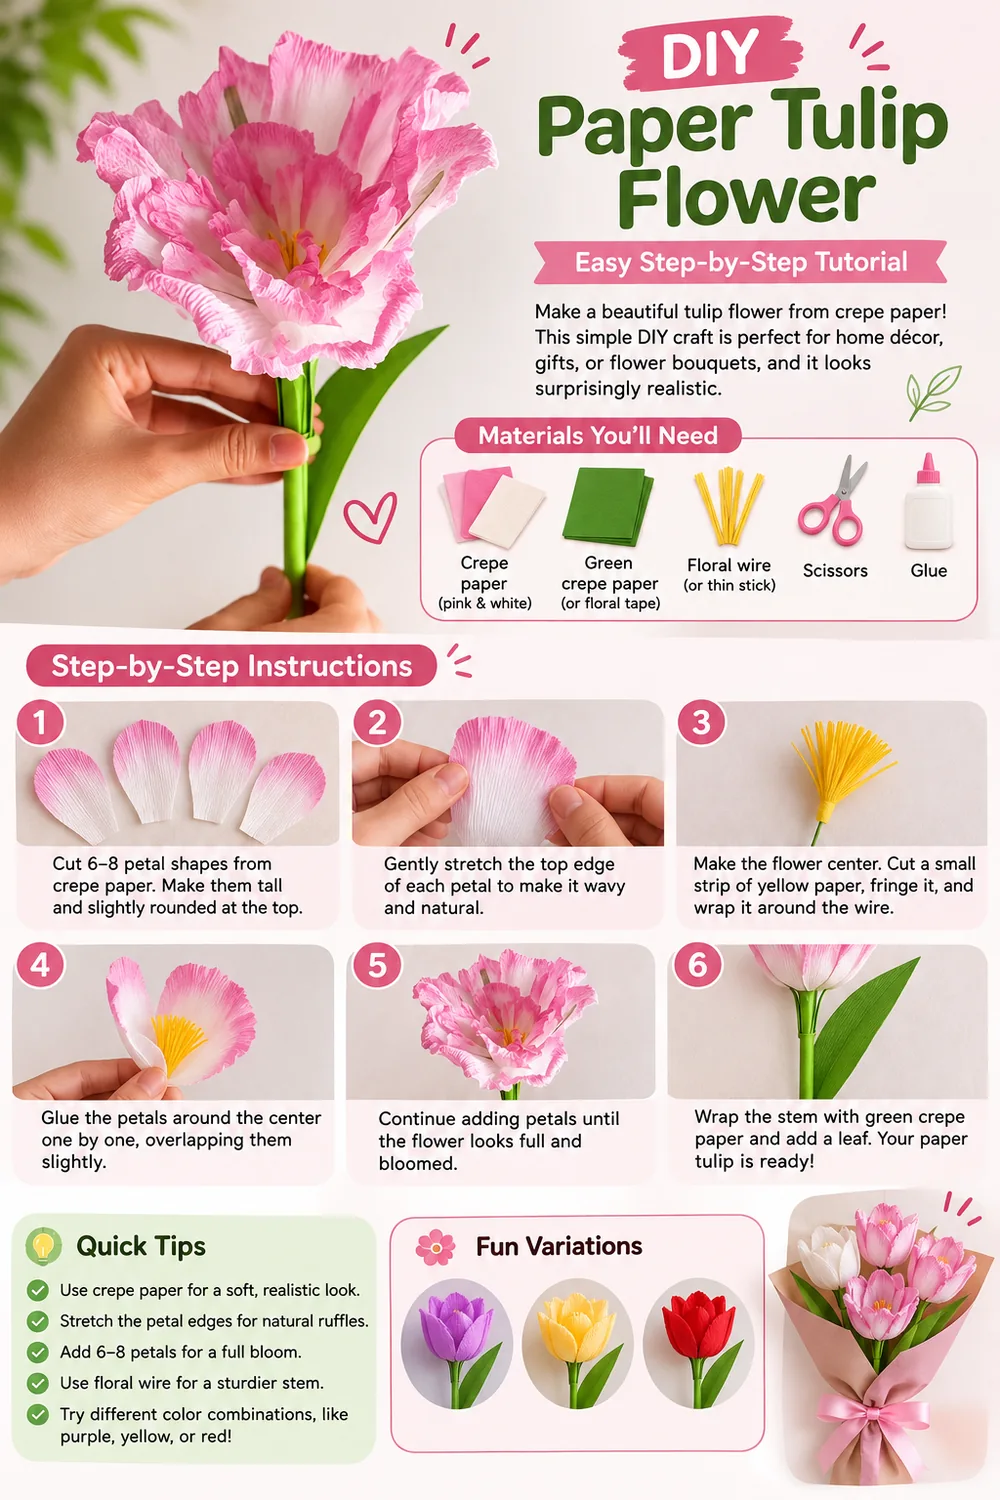
- Cut four small and four large petals. Fold your paper lightly if it helps with symmetry, then trim each piece into a wide oval with a narrow bottom. Do not cut sharp points at the top; the photo’s petals have rounded, slightly irregular edges.
- Add soft pink color. If your paper is white, rub a little dry pink pastel around the upper edges and blend inward. Leave most of the petal pale. If you choose wet color instead, let the crepe paper dry completely before shaping.
- Cup and ruffle each petal. Hold a petal with both hands. Gently push your thumbs into the middle and stretch outward a little. Then pinch and very lightly stretch small sections along the top edge to create natural-looking waves. Curl a few corners outward around a pencil.
- Make the yellow flower center. Cut narrow fringe into one long edge of the yellow strip, leaving about ½ in (1.3 cm) uncut at the bottom. Wrap its solid edge around the top of the floral stem, glue it in place, and spread out the fringe.
- Attach the four inner petals. Glue the narrow base of each smaller petal around the yellow center. Overlap neighboring petals slightly and rotate the stem as you work, so the bloom stays balanced. Secure the bases with a short wrap of floral tape.
- Add four outer petals. Position the larger petals in the gaps between the inner ones. Angle their upper edges farther outward to make the wide, open bloom in the photo. Glue only near the base, then tape the bases firmly. Adjust the ruffles once the glue holds.
- Cover the stem and add a leaf. Wrap green floral tape or a narrow green crepe strip around the flower base and down the wire at a slight angle. Cut a long pointed green leaf, gently cup it, and fix the lower end a few inches below the flower head. Wrap over the join to hide the glue.
- Finish and shape. Set the flower upright in a narrow vase or gently hold the stem. Open the outer petals one by one until the tulip looks full but not flat. Let the glue set fully before moving or displaying the flower.
How to Get the Soft Pink-and-White Petal Effect
The reference flower is not solid pink. Its palest areas are near the center of the petals, with stronger color along the frilled tops. That contrast is what makes the flower look delicate from a distance.
- Start with white, ivory, or very pale pink crepe paper.
- Apply pink pastel near the top ½–1 in (1–2.5 cm) of each petal.
- Blend toward the middle without coloring the narrow base.
- Leave a few petal edges darker than the others for a natural uneven look.
- For the closest match, ruffle some edges more than others instead of making eight identical petals.
Dry pastel is the easiest coloring method for a beginner. Water-based color can soften or distort some crepe papers, so test it on a scrap first. Work on a protected surface to prevent staining.
Make the Tulip Smaller, Fuller, or More Closed
| Look | What to change |
|---|---|
| Small tulip | Cut the petal measurements to about 70% and use a shorter stem. |
| Full, fluffy bloom | Add 2 extra outer petals, spreading them evenly rather than stacking them on one side. |
| Closed tulip | Keep the petals more upright and use less outward curling. |
| Strong ruffled edge | Gently stretch a little more along the upper edge, stopping before the paper begins to thin or tear. |
Common Paper Tulip Problems and Easy Fixes
The petals droop or collapse
Check whether the crepe paper is too thin or the petal bases are loose. Use slightly heavier crepe paper, support the largest petals with fine wire on their backs, or make the outer petals smaller. Keep the glue close to the bases so the rest can curve freely.
The flower looks flat instead of cup-shaped
Place your thumbs near the middle of each petal and stretch across the crepe grain just a little. A gentle hollow in the center gives the flower depth. Avoid pulling hard at the base.
The pink edges look patchy
Try dry pastel on a spare petal first. Work in light layers instead of applying a thick line in one pass. Slight variations are fine; sharp accidental streaks usually look less natural.
The whole flower leans to one side
Make sure the petal bases are distributed around the stem, not all glued to the same face. For a large bloom, choose firm stem wire and wrap the neck tightly with floral tape.
The crepe paper tears when stretched
Stretch smaller areas with less force. Very thin paper or paper cut against the desired grain may split more easily. Replace badly torn petals rather than hiding a large rip with glue.
Ways to Use Your Handmade Tulip
A single oversized bloom looks beautiful in a slim vase, especially on a desk or a shelf. You can also make three or five in slightly different shades for a spring bouquet or a handmade Mother’s Day gift.
If you want a larger craft display, pair these standing tulips with the DIY paper flower wall decor tutorial on KOSMAX. The wall flowers use a different construction, so the two projects can complement one another without repeating the same technique.
Frequently Asked Questions
Can I make a paper tulip without crepe paper?
Yes, but the look changes. Ordinary colored paper works for a simple folded tulip. For the large ruffled flower shown here, crepe paper is better because it can stretch into curved petals.
How many petals do I need for this flower?
This version uses eight: four smaller inner petals and four larger outer petals. You can add two more outer petals if you want a fuller bloom.
What is the best glue for paper tulip flowers?
A small amount of tacky craft glue works for crepe paper and gives you time to position the petals. Hot glue can be faster, but it needs more care and may create visible lumps if you use too much.
Why does my paper tulip not look like the photo?
The most common difference is in the petal shape. Use broad petals, keep the bases narrow, curl the top edges outward, and vary the amount of ruffling. Even with the same measurements, handmade flowers will look slightly different.
Can I use these paper tulips for a wedding?
Yes. Make several in coordinating colors for bouquets or table decorations. Keep them away from candles and protect them from water.
Is this craft suitable for kids?
Older children can help color and shape paper with supervision. Adults should cut any floral wire and handle sharp tools or hot glue.
Useful Paper-Flower References
For more on crepe paper grain, petal shaping, and realistic tulip construction, see Lia Griffith’s beginner crepe paper tulips and her parrot tulip inspiration. This tutorial uses its own simple measurements and assembly order rather than reproducing those templates.