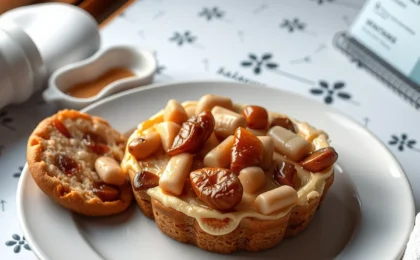
Making butter starts with heavy cream that has not been ultra-pasteurized. The fat globules separate when you shake them hard enough.
You end up with two things: a block of butter and a bowl of buttermilk. Both are useful in your kitchen right away.
Why You'll Love This Recipe
About the Ingredients
2 cups (475ml) cold heavy whipping cream
Use regular pasteurized cream if possible. Ultra-pasteurized cream often needs more time to separate.
1 pinch fine sea salt
Optional for flavor. Skip this if you want unsalted butter for baking.
Step-by-Step Instructions
1. Pour cream into mixer
Place the cold heavy cream into a stand mixer bowl fitted with the whisk attachment.
2. Whip until separated
Run the mixer on medium speed for about 10 to 15 minutes until the mixture splits.
3. Drain liquid off
Pour the yellow solids into a cheesecloth-lined strainer to catch the liquid buttermilk.
4. Rinse butter mass
Add ice-cold water to the butter and press gently with a spatula to wash out remaining milk.
5. Repeat washing
Change the water twice more until it looks clear and no white bits remain floating around.
6. Shape and salt
Squeeze out extra water then mix in salt before pressing the butter into a mold or container.
7. Store immediately
Cover the butter tightly and put it in the refrigerator within an hour of finishing the process.
How to Store Learn how to make fresh homemade butter using heavy whipping
Refrigerator
Keep covered in the fridge for up to three weeks.
Freezer
Wrap tightly in foil and freeze for up to six months.
Reheating
Let sit at room temperature for ten minutes before softening for use.
Tips & Tricks
- Start with very cold cream straight from the fridge for faster separation.
- Keep rinsing until the water runs clear to remove all buttermilk residue.
- Press out excess water with a spoon so the butter stores better.
Frequently Asked Questions
Q: Can I use low-fat milk instead of heavy cream?
No, low-fat milk lacks enough fat to form butter. You need at least 36 percent fat content in the cream.
Q: Why did my butter turn yellow instead of white?
Yellow color comes from beta-carotene found in cow feed naturally. White butter usually means added coloring was removed.
Q: What should I do with the leftover buttermilk?
Use it in pancakes, biscuits, or smoothies right away. It tastes tangy and thickens baked goods well.
Q: How do I know the butter is ready to eat?
It is ready once the water clears and you can press it together firmly. Taste a small piece to check salt balance.
Q: Does making butter take a long time?
Active time is under 30 minutes plus cooling time for storage. Total wait includes chilling before serving.
Delicious Variations
- Herb butter made by mixing chopped garlic or rosemary into the finished block.
- Salted butter created by adding coarse salt during the final shaping stage.
- Flavored whipped butter blended with honey or vanilla extract for sweet spreads.
Try this method once and you will see why fresh butter tastes different from packaged versions. Keep the buttermilk handy for your next pancake morning.
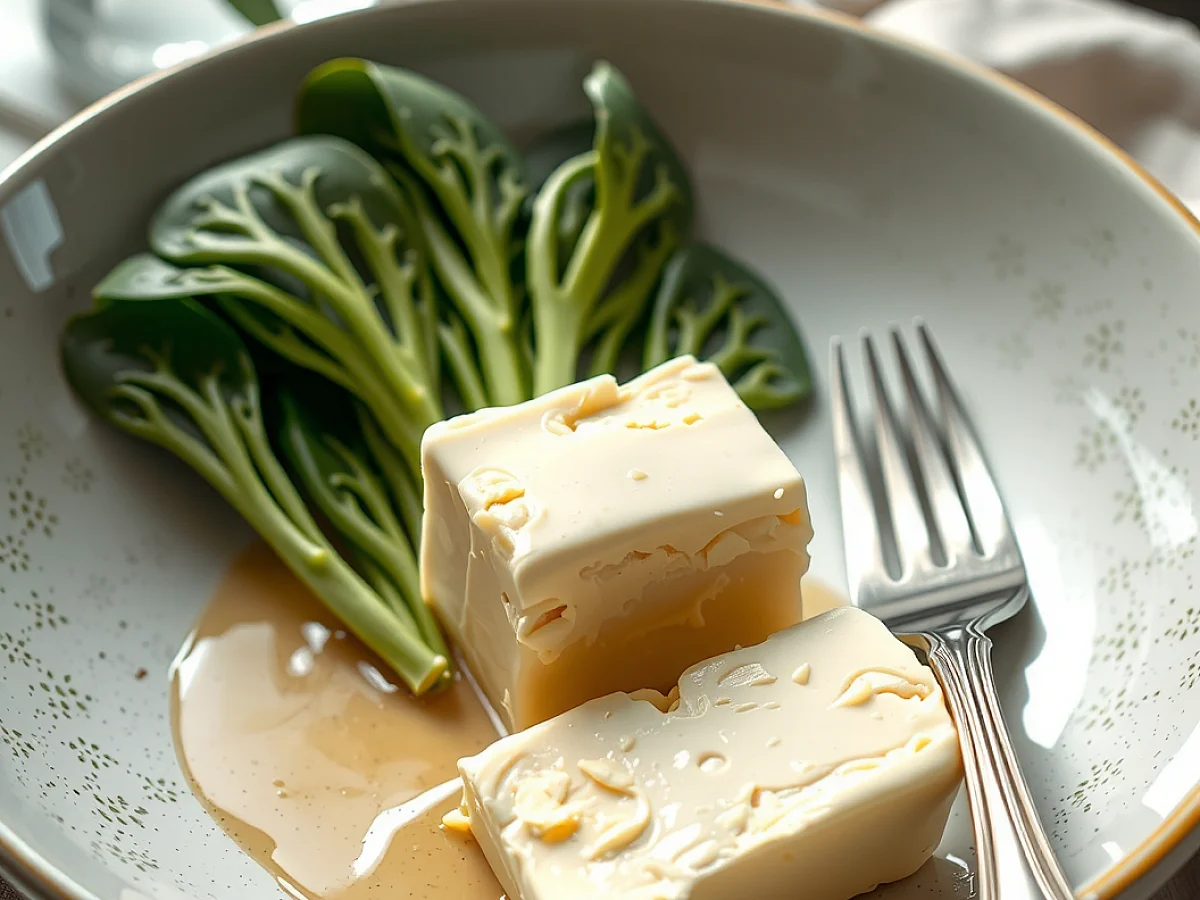
Learn how to make fresh homemade butter using heavy whipping
Learn to make fresh homemade butter using heavy whipping cream. You get creamy spreadable butter and tangy buttermilk with simple steps.
🧂 Ingredients
- 2 cups (475ml) cold heavy whipping cream
- 1 pinch fine sea salt
📋 Instructions
- 1Pour cream into mixer — Place the cold heavy cream into a stand mixer bowl fitted with the whisk attachment.
- 2Whip until separated — Run the mixer on medium speed for about 10 to 15 minutes until the mixture splits.
- 3Drain liquid off — Pour the yellow solids into a cheesecloth-lined strainer to catch the liquid buttermilk.
- 4Rinse butter mass — Add ice-cold water to the butter and press gently with a spatula to wash out remaining milk.
- 5Repeat washing — Change the water twice more until it looks clear and no white bits remain floating around.
- 6Shape and salt — Squeeze out extra water then mix in salt before pressing the butter into a mold or container.
- 7Store immediately — Cover the butter tightly and put it in the refrigerator within an hour of finishing the process.